
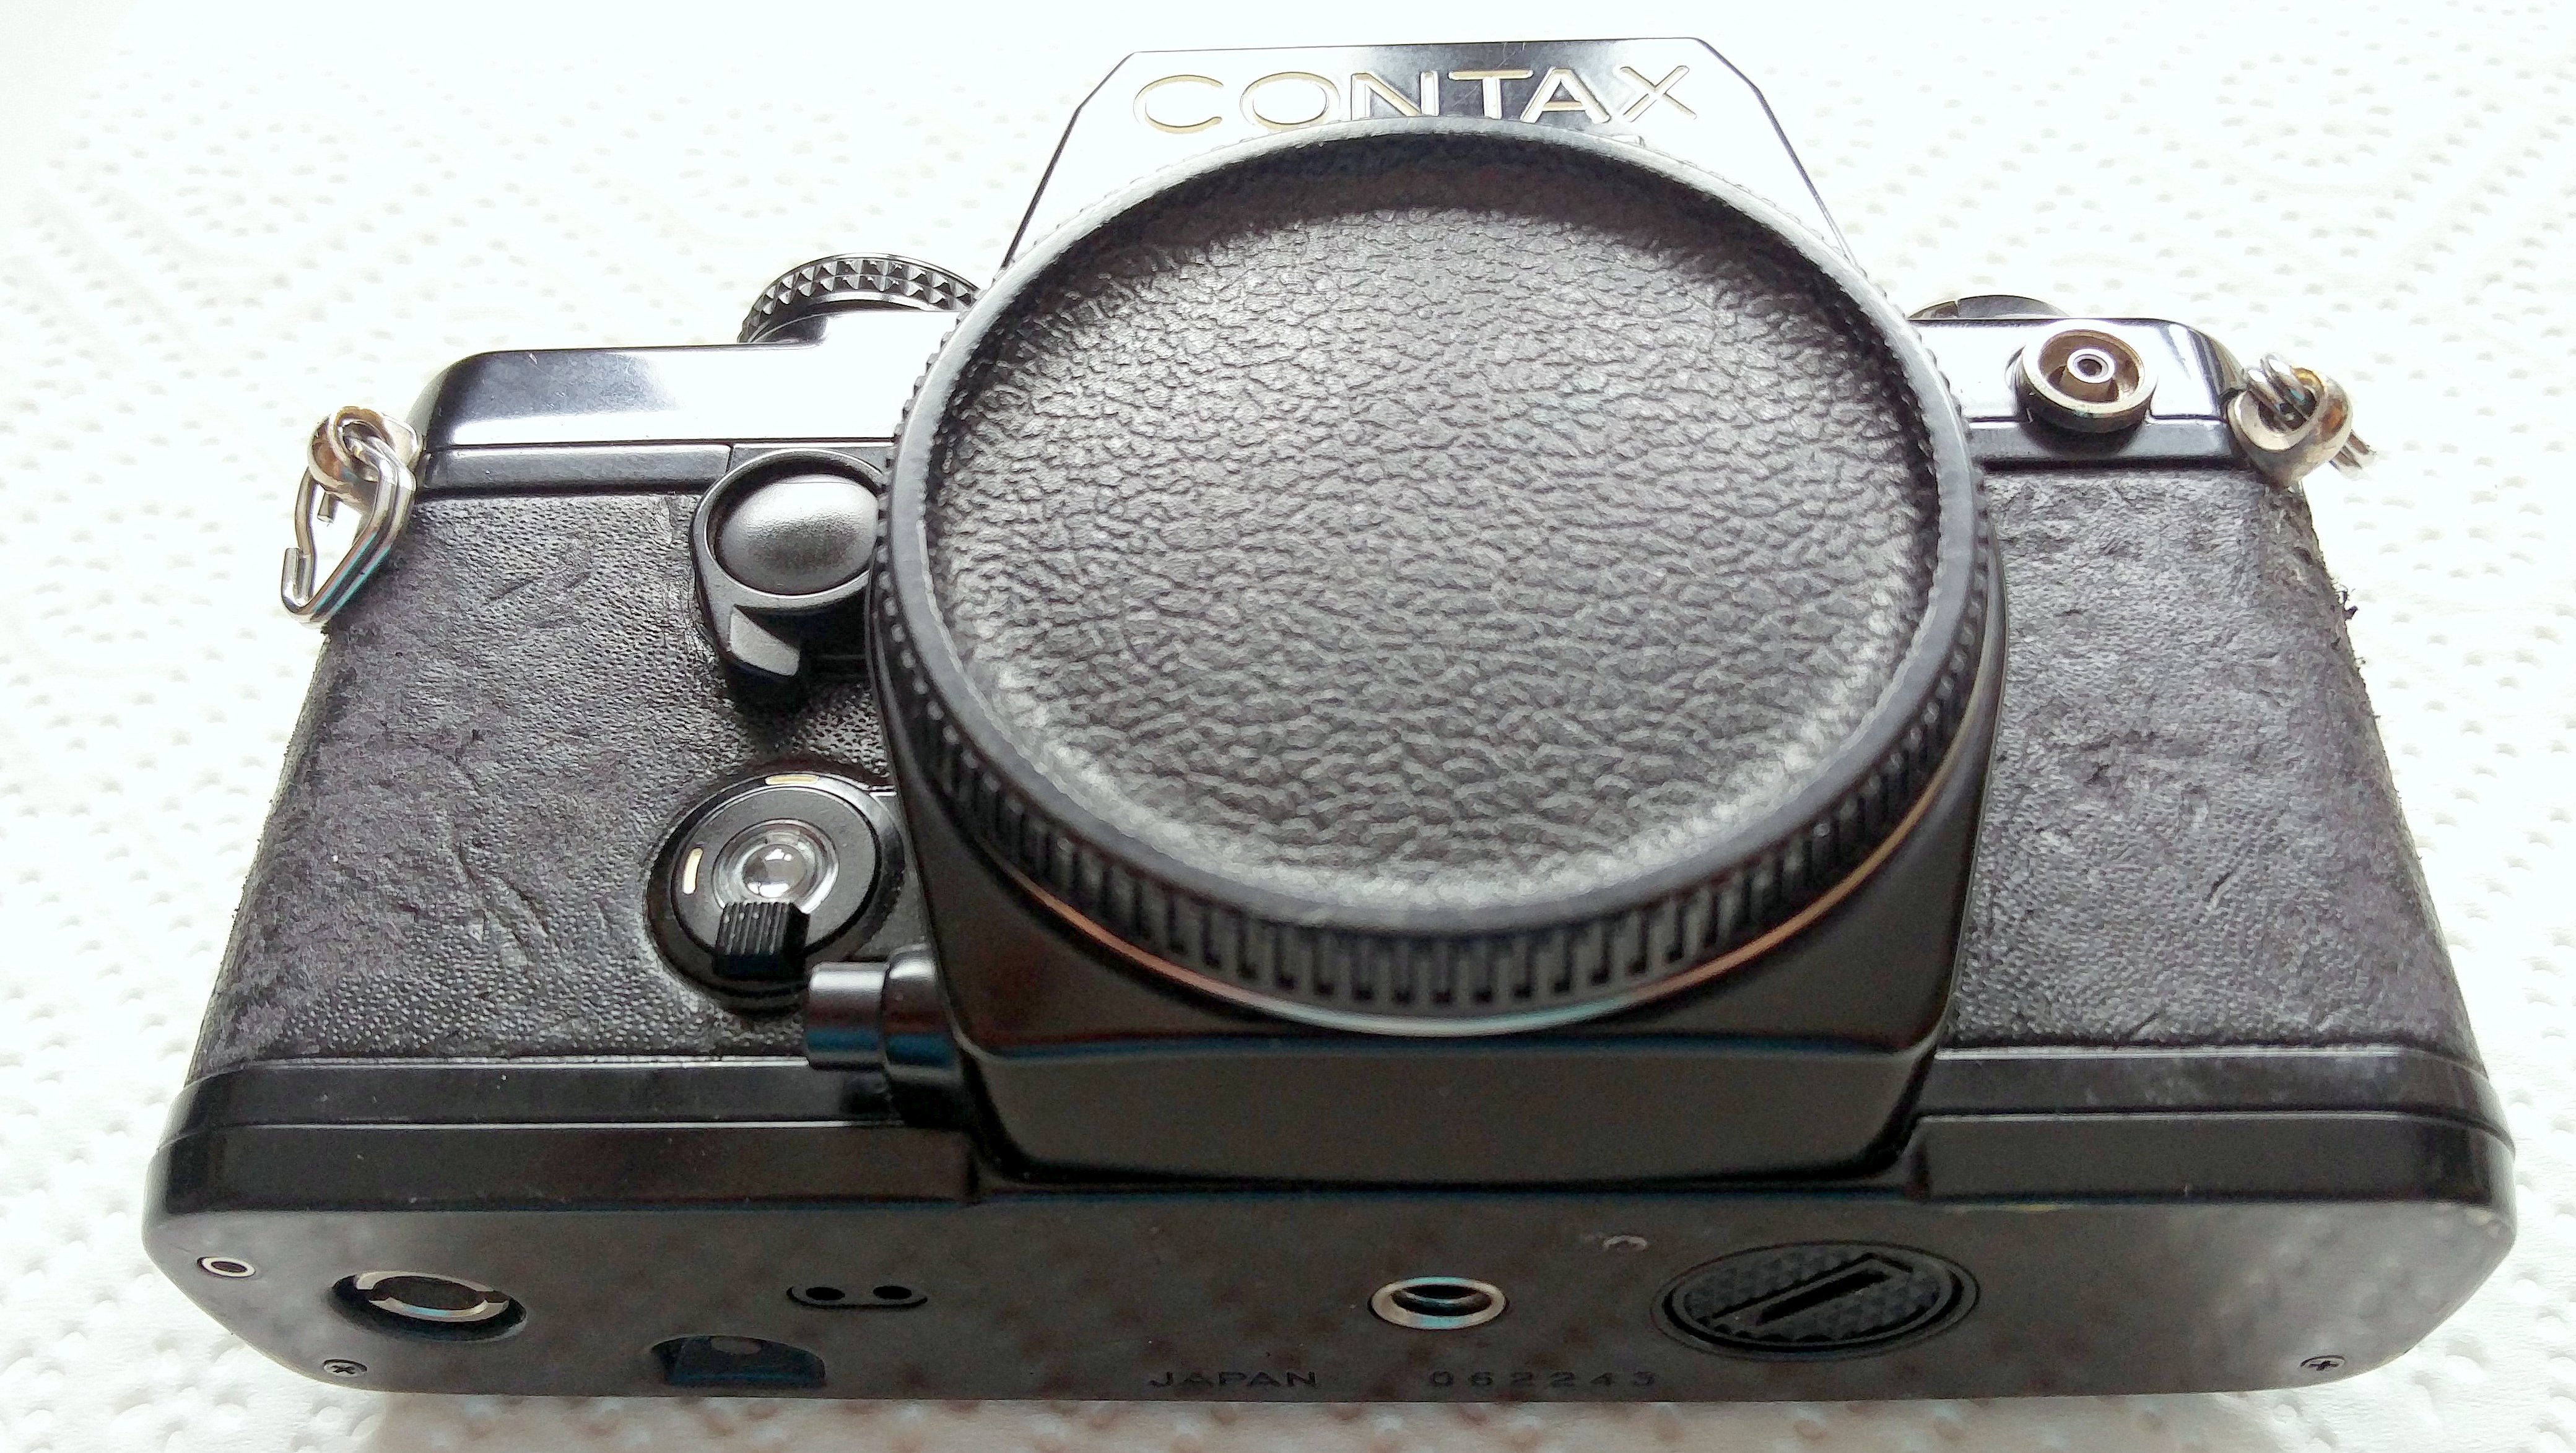
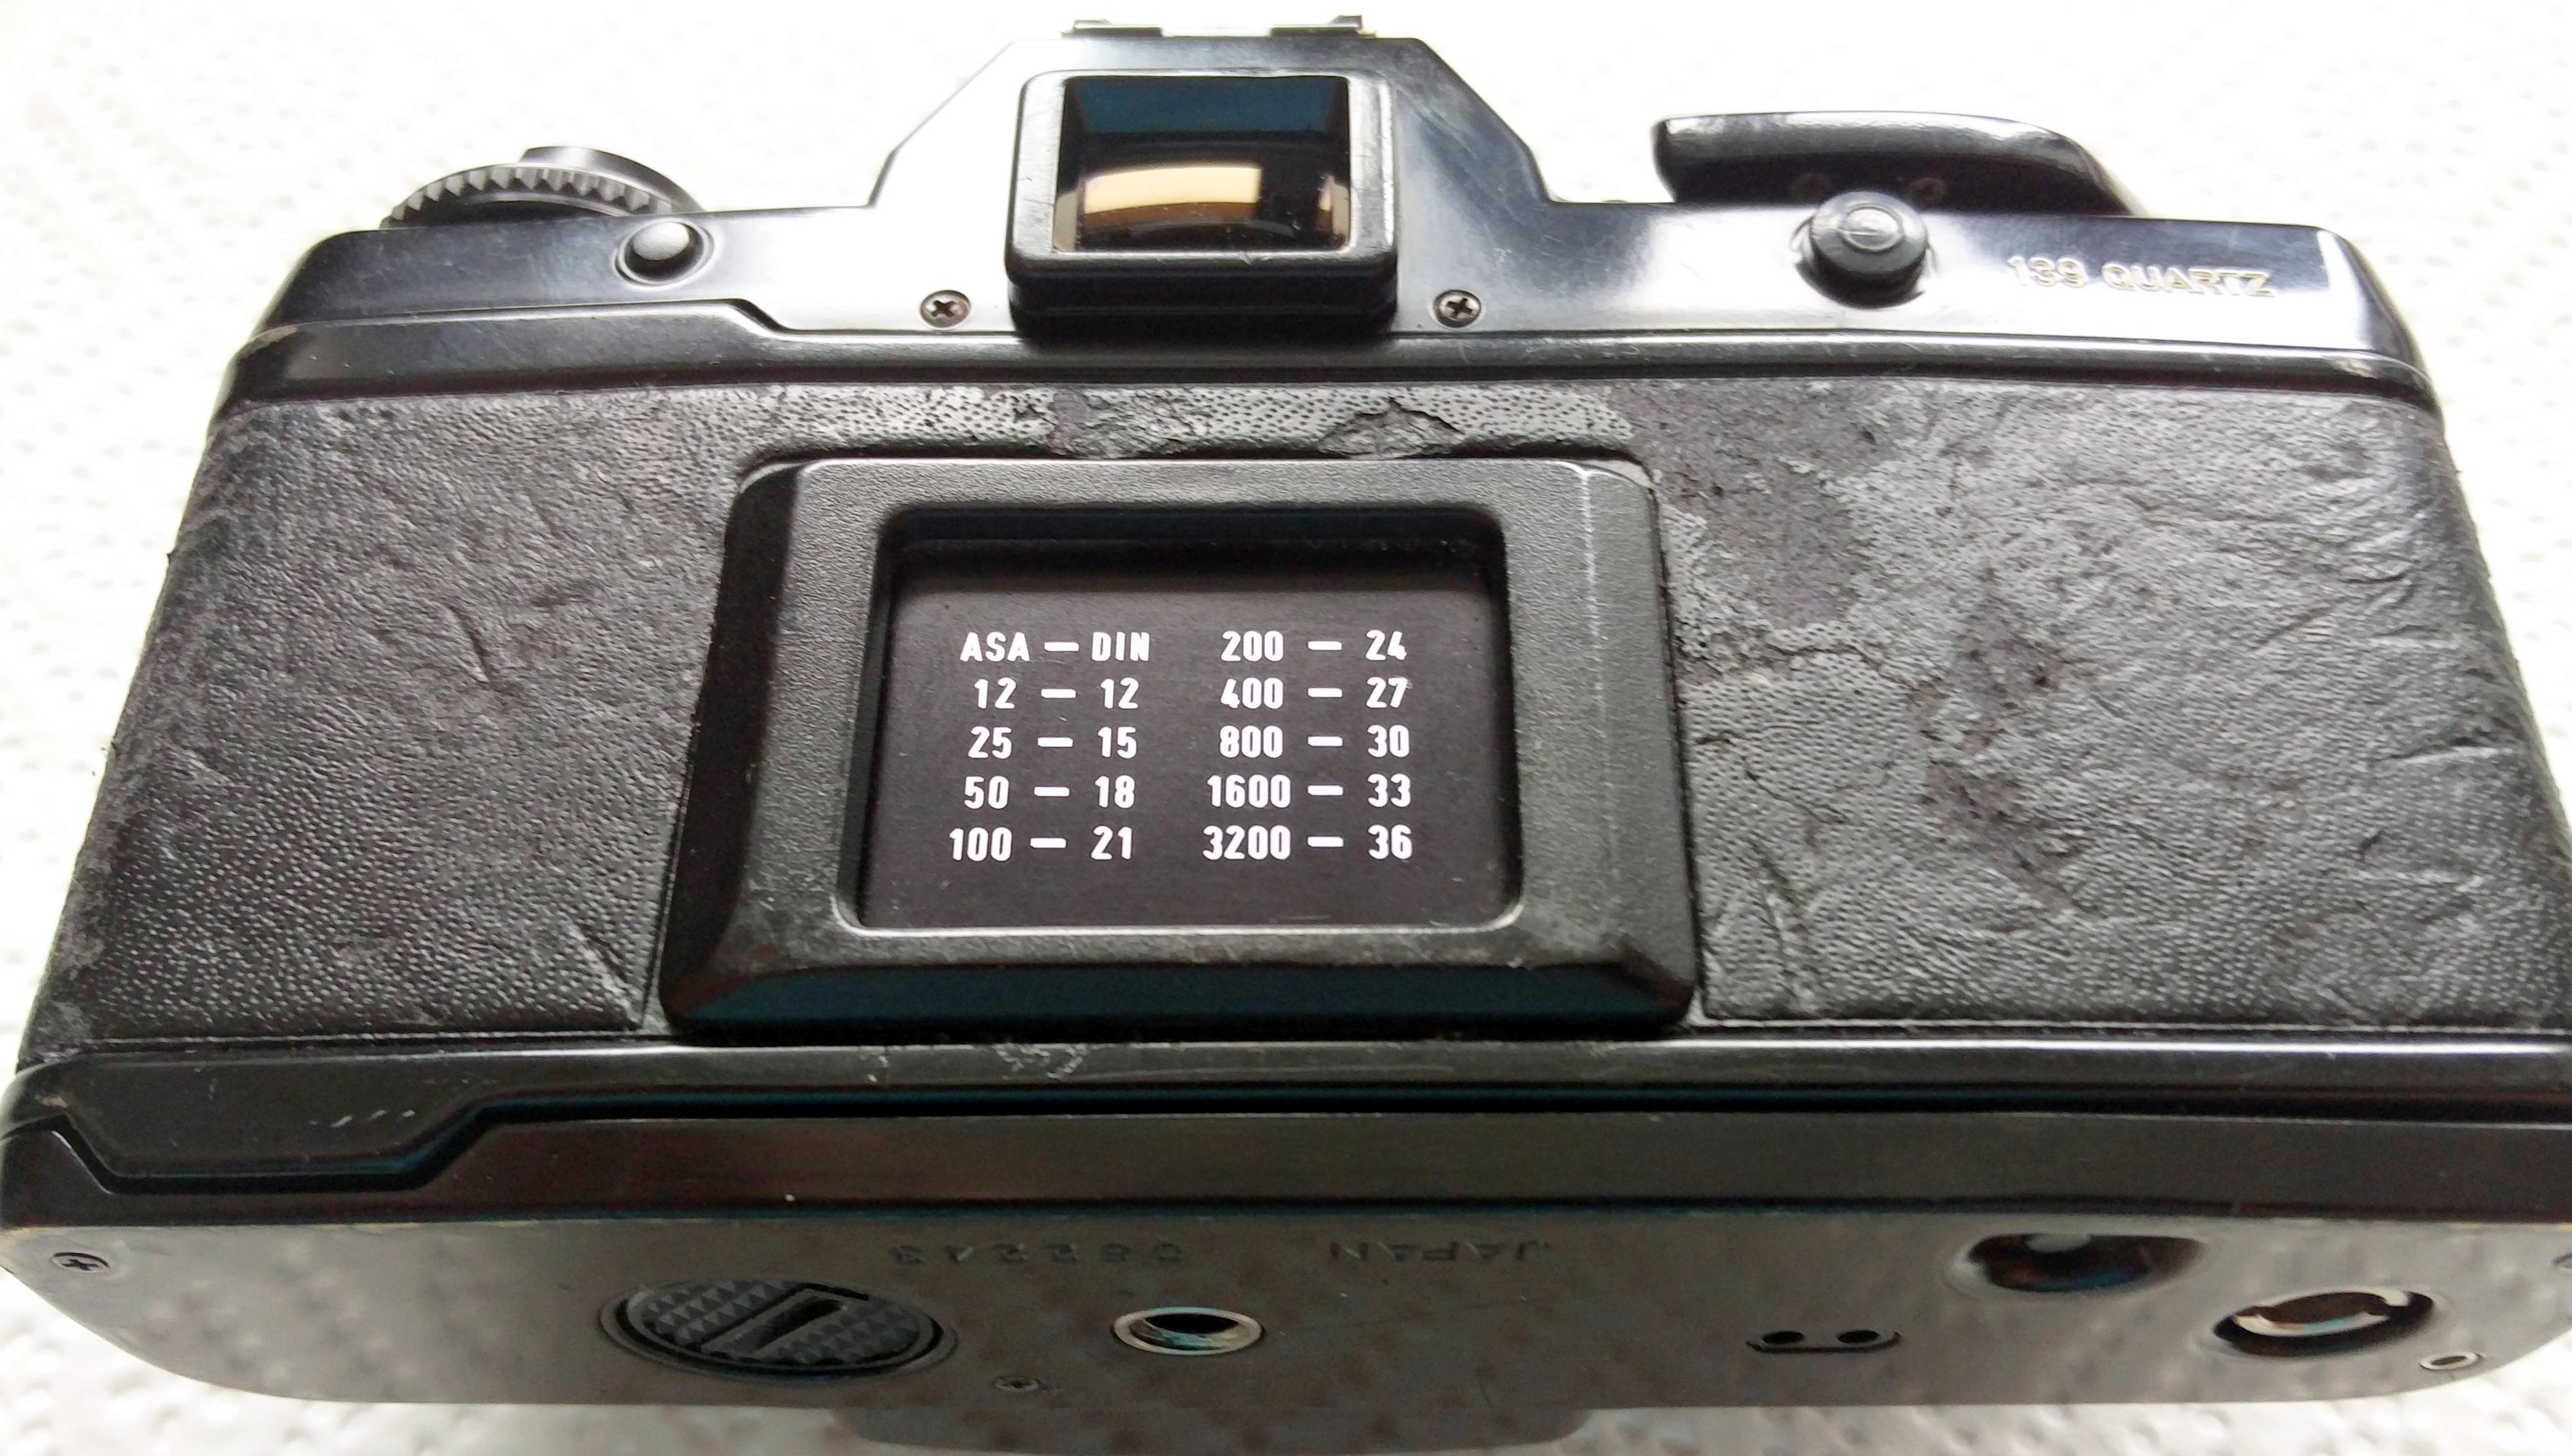
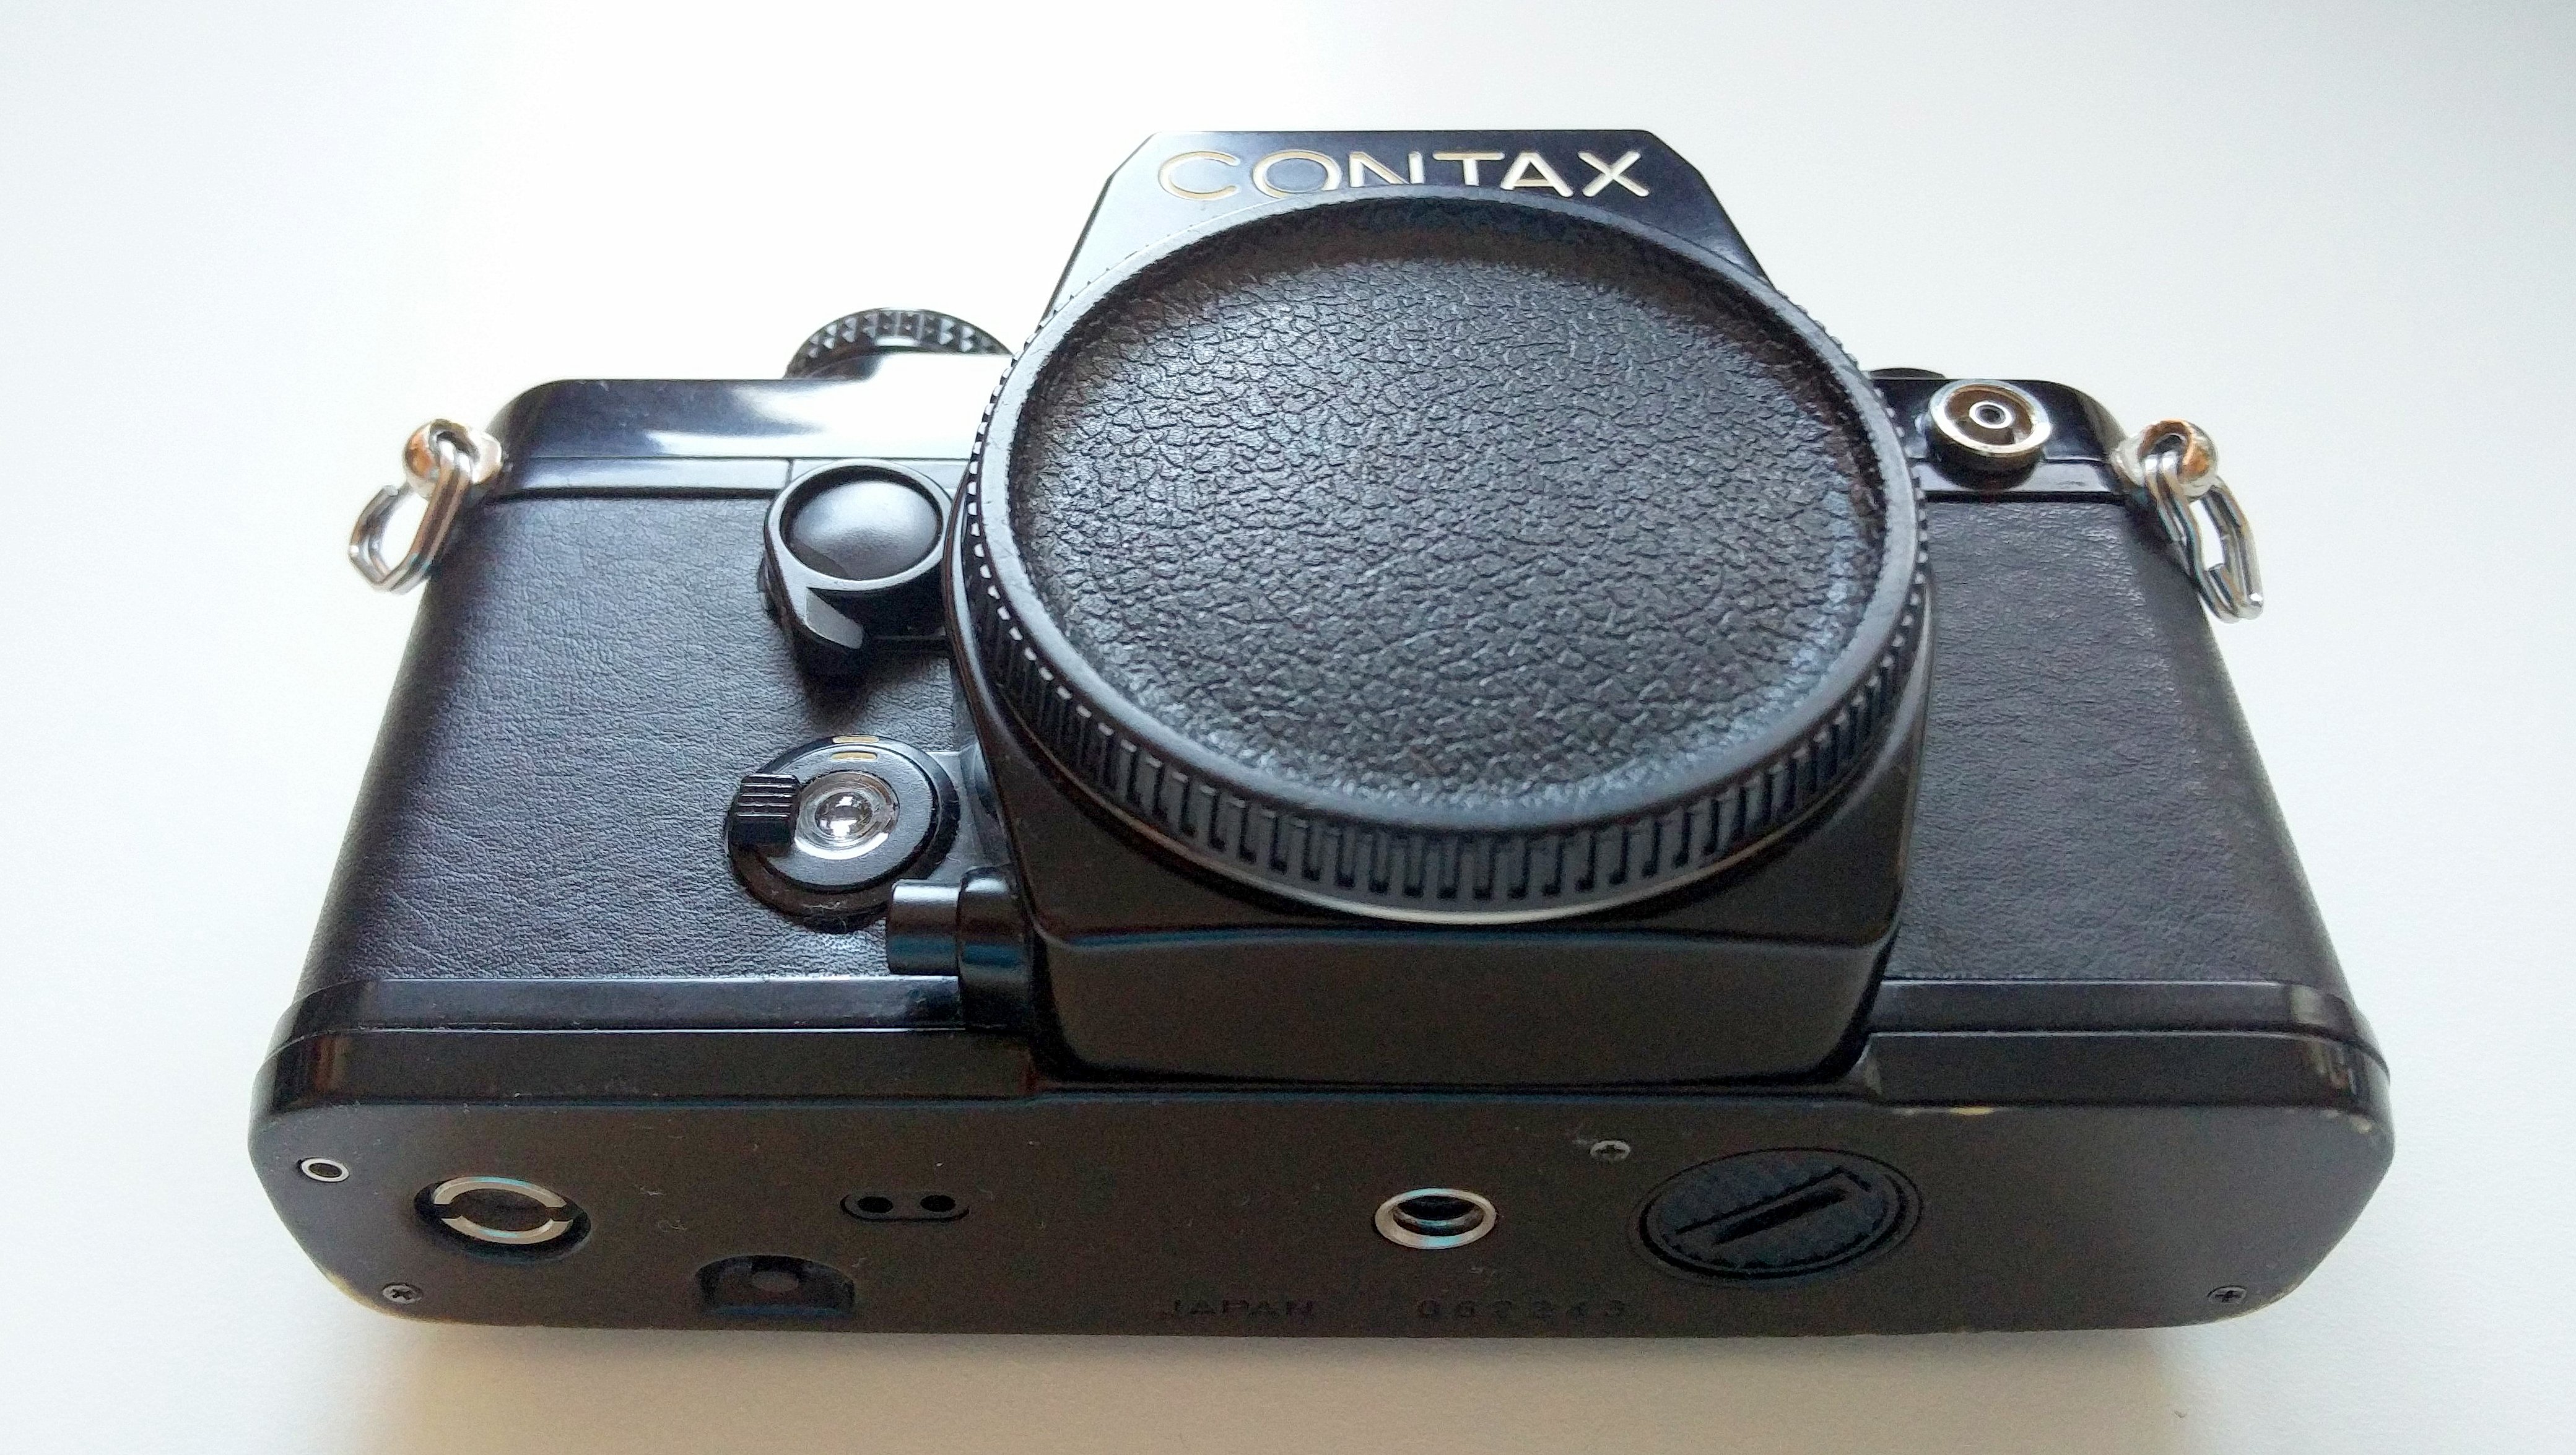
I thought it might be a good idea, to tell the story of a Contax 139 Quartz being dressed in a new leather cover. Here is how the hidden beauty – Contax 139 Quartz – looks like before treatment …
And now let’s start with some beautification ;)
There are some resources on the web where you can find new covers – one of them is Morgan Sparks from cameraleather.com.
Morgan offers loads of stuff fitting perfectly for a whole bunch of camera types. Delivery from the US works flawless … perfect service!
The cover for my Contax 139 Quartz is about $19.50 plus shipping and it’s worth it. My first two Contax 139 are real beauties now.
You can find an excellent how-to on his web page for both methods – dry and wet.
Step 1: Remove old cover
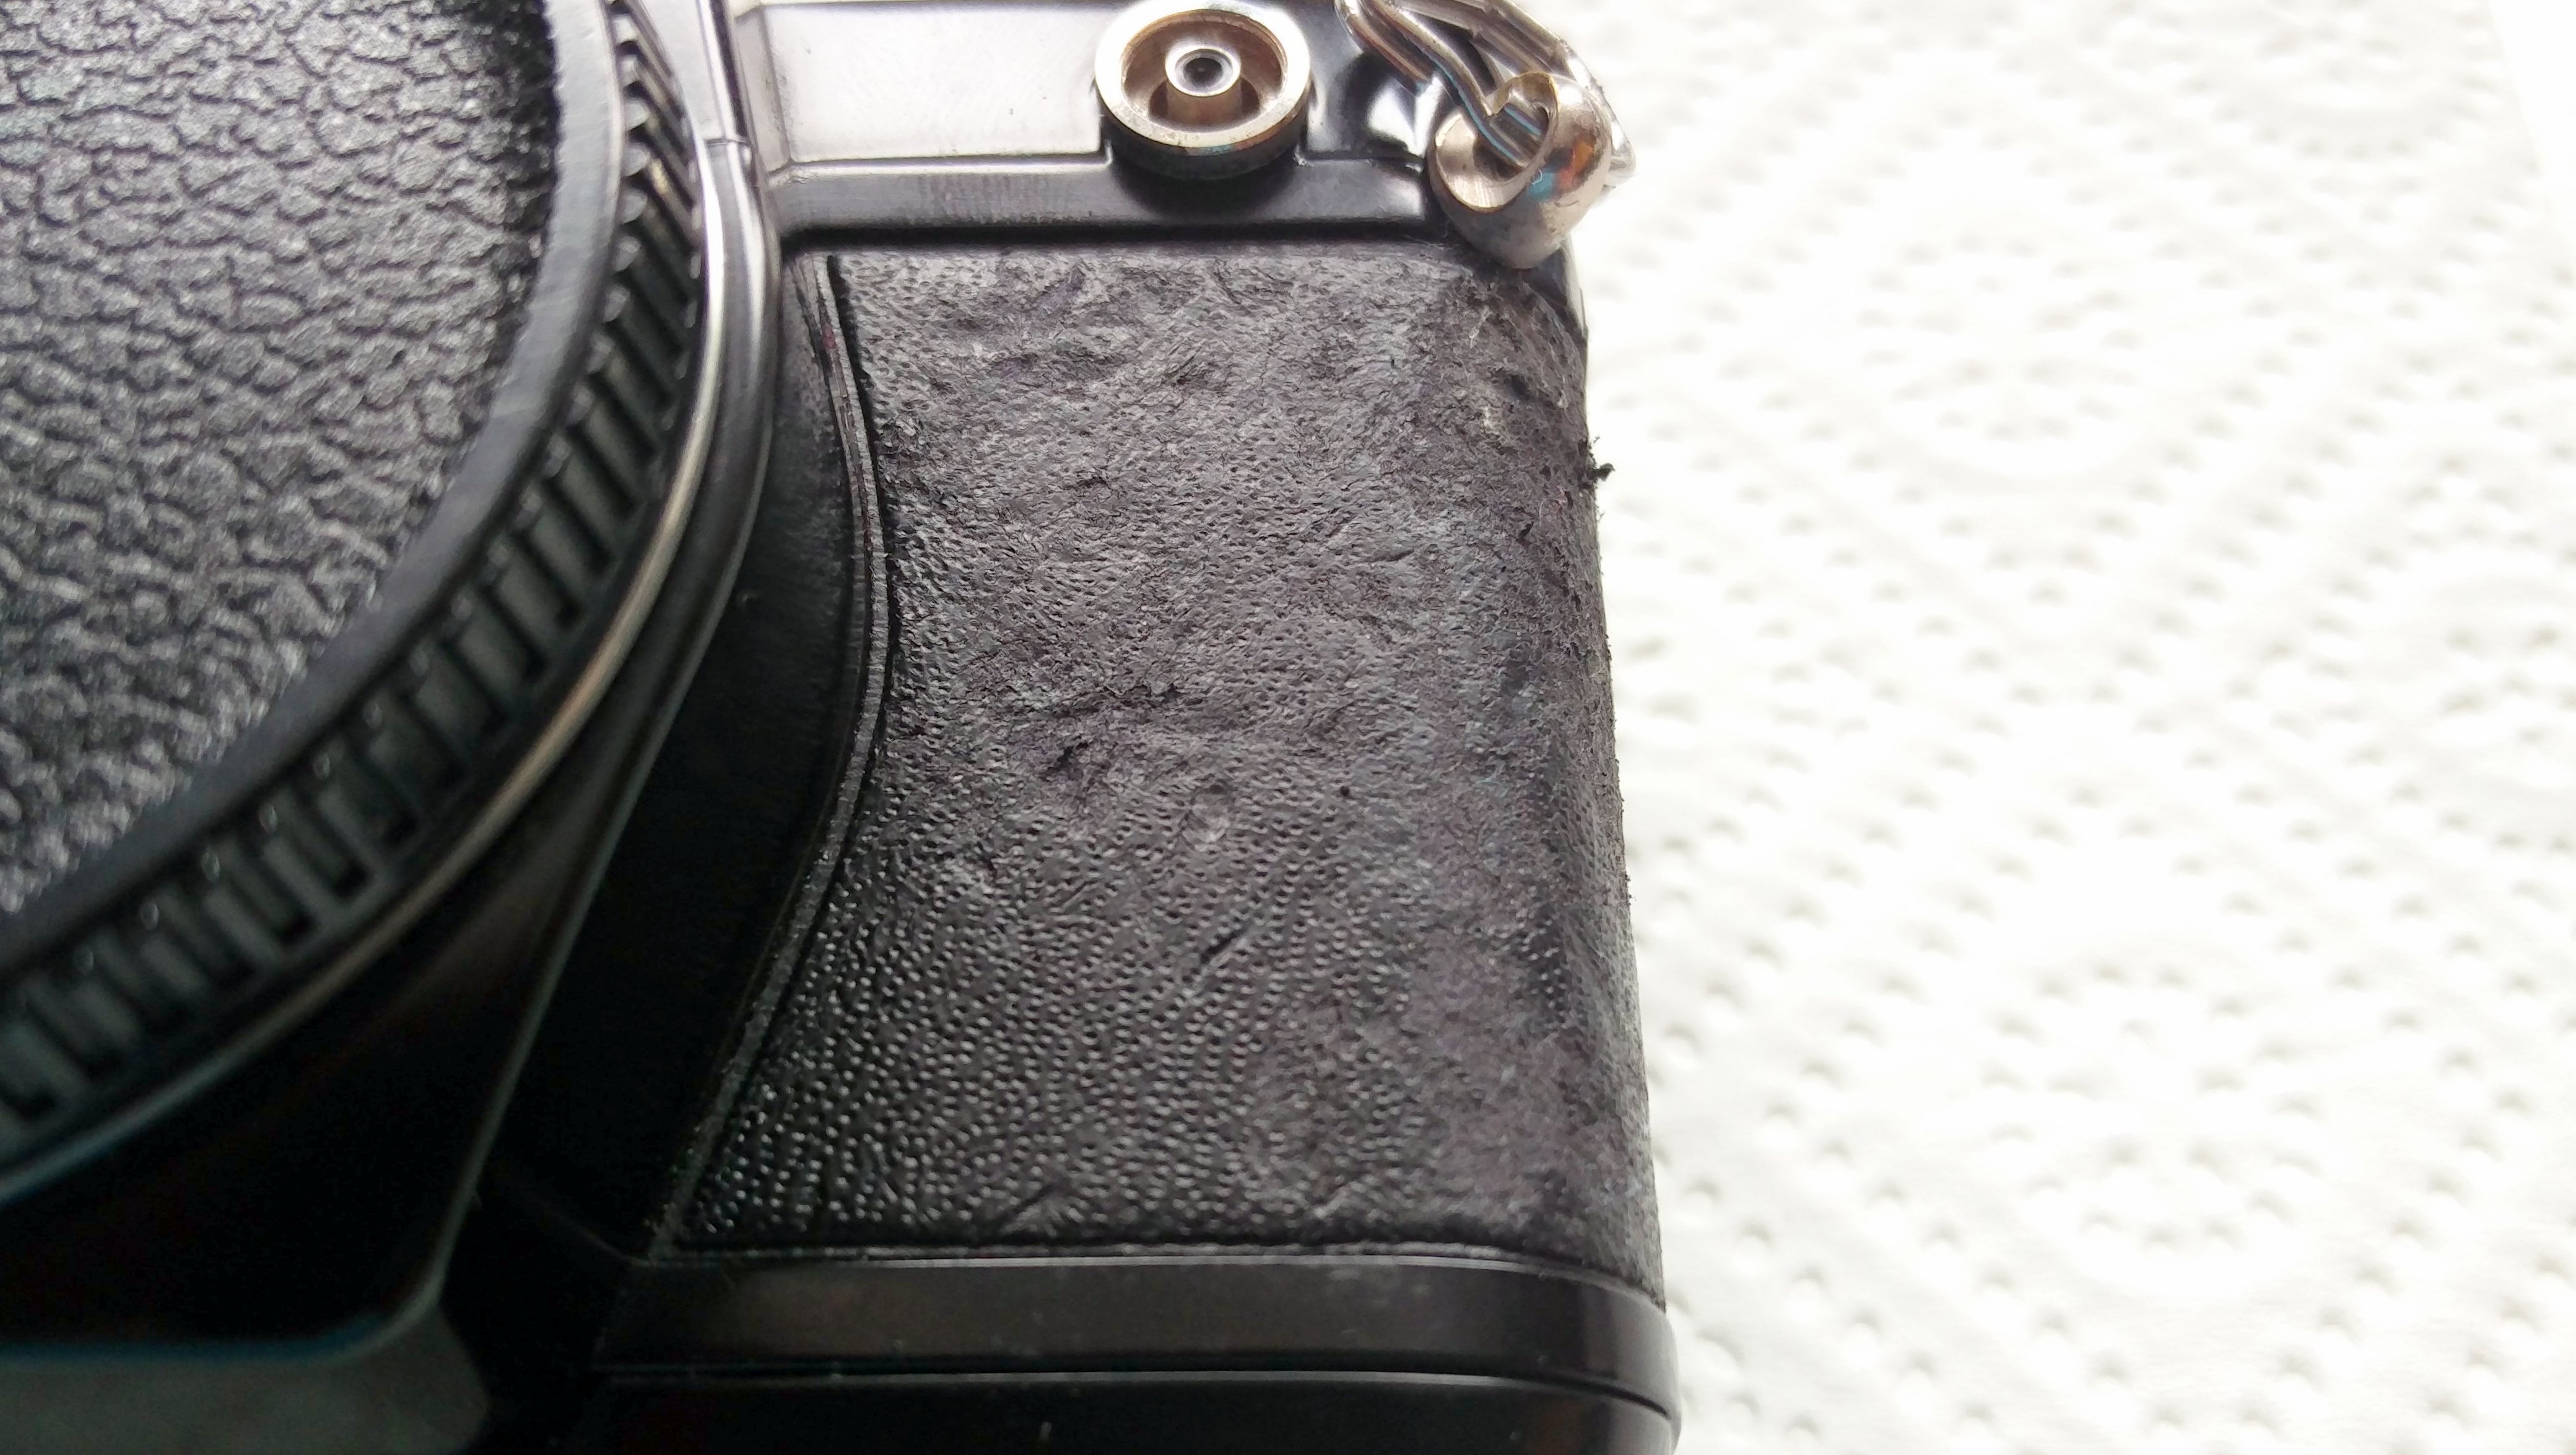
As one knows, Contax used real leather for its old SLR. Unfortunately this cover detoriated over time and what remains is quite ugly.
Before we can apply the new cover, the old one needs to be removed completely. Sometimes the old cover can be pulled off quite easily … let’s see … ups, this time it was quite a dirty job and I used some stain remover.
I use a brand from East Germany called Nuth … the best I found for a lot of cleaning purpose.
After removing the old cover, take some cleaning alcohol and clean the camera surface carefully so that no dirt or fat (from the fingers) remains.
Step 2: Apply the parts
There are three parts pre-cut – the back, the left front and the right front.
The cover has a top side and an – very adhesive – back side. DO NOT TOUCH THE ADHESIVE SIDE – as this might ruin its capability to adhere!!!
So let’s start with … the back. First pull the part off from the sheet and put it with the front side on a tablet.
Prepare a small cup with water, add a drop (!) of detergent – see hint on Morgans’ webpage .
Now take a small brush and put some water on the adhesive side – this will reduce adhesion until the water evaporates.
Next, take up the part carefully and apply it onto to the camera. As long as it is wet, you can slightly move it to correct its position until it fits.
Carefully apply some pressure to the cover by smooting.
Now do the same for the other cover parts.
Step 3: Have fun
The final result should look like this.

Now … I’m keen to load a first film into that beauty.
Enjoy 😉
P.S. In case you’d like to comment … it’s appreciated!
P.P.S. … and maybe, you want to check out my website too.
P.P.P.S. … and don’t forget my Flickr page.